

Chilled water systems are the backbone of modern cooling — from commercial office towers to hospitals, data centers, and industrial plants. Yet the pipes carrying that chilled water are often an afterthought, insulated as a final step rather than planned as a core part of the system. Poor insulation choices show up later as energy waste, dripping ceilings, mold, and corroded pipework. This guide walks through what matters most: why insulation is essential, which materials to consider, how to size thickness correctly, how to install it properly, and how to keep it performing over time.
Chilled water typically runs between 4°C and 10°C, far below the dew point of the surrounding air in most indoor environments. Without adequate insulation, moisture in the air condenses directly on the pipe surface. That condensation does not stay put — it drips onto ceiling tiles, damages finishes, and creates the damp conditions where mold thrives.
There is also the energy dimension. Every degree of heat gain into the chilled water loop means the chiller plant has to work harder to maintain setpoint. Over a building's lifetime, that lost efficiency adds up to a meaningful share of total HVAC operating cost. Add in the risk of external corrosion on metal piping caused by trapped moisture under poorly sealed insulation, and it becomes clear that insulation is not a cosmetic finish — it is a functional part of the system's design, directly tied to energy performance, building protection, and long-term maintenance cost.
No single material is right for every project. The choice usually comes down to how well a product resists moisture, how it performs thermally, and how easily it can be installed on the pipe runs and fittings involved.
A closed-cell structure gives elastomeric foam strong built-in vapor resistance, which is exactly what a below-dew-point chilled water line needs. It is flexible, quick to install around fittings and valves, and does not require a separate vapor barrier in most applications — making it a common default choice for chilled water work.
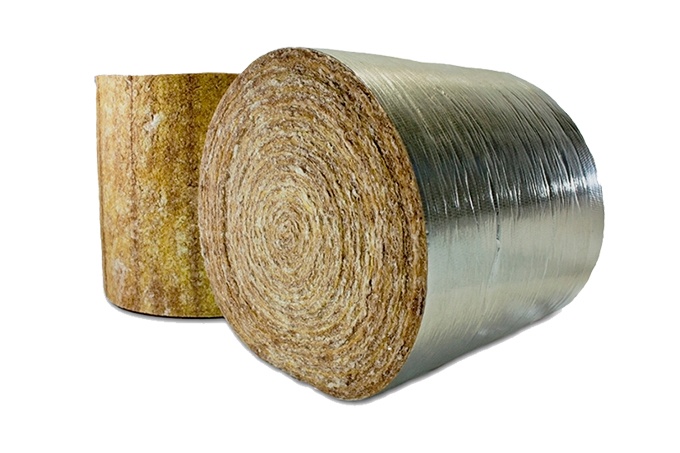
Fiberglass offers good thermal performance and is widely available at low cost, but it is an open-cell material and absorbs moisture readily. On chilled water lines, it requires a well-installed vapor barrier jacket to stay effective — any breach in that jacket can lead to wet insulation and reduced performance over time.
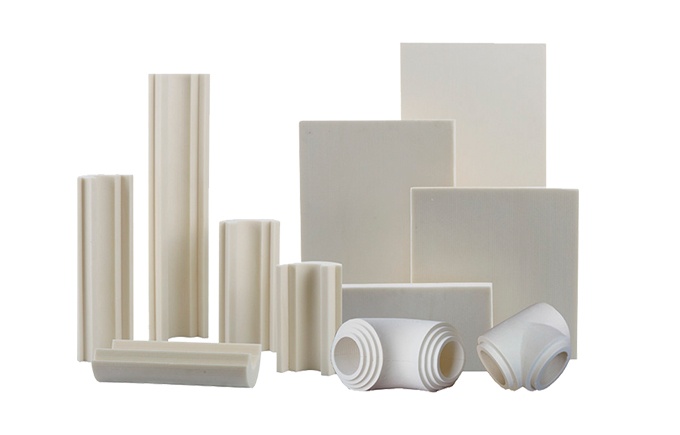
Rigid polyurethane and PIR foams deliver very low thermal conductivity for their thickness, which is useful where space around the pipe is limited. They are more commonly seen in pre-insulated underground piping systems than in exposed indoor mechanical rooms.
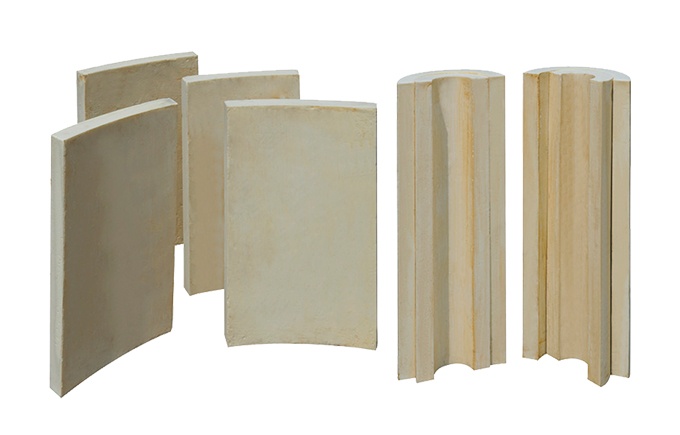
Phenolic foam combines low thermal conductivity with strong fire performance, making it a frequent choice in projects with strict fire safety requirements, such as hospitals and high-rise buildings. It is rigid, so it suits straight runs better than complex fitting geometry.
Thickness selection has to satisfy two separate goals at once: preventing surface condensation and limiting heat gain into the water. Condensation control depends on ambient temperature and relative humidity around the pipe — a chilled water line running through a humid mechanical room needs thicker insulation than the same line in a dry, conditioned space, even if the water temperature is identical.
Pipe diameter also plays a role, since larger pipes have proportionally less surface area relative to volume and behave differently than small-diameter branch lines. Most projects reference standards such as ASHRAE 90.1 or local energy codes as a starting baseline, then adjust upward where humidity conditions or energy targets demand it. Because the two goals — condensation control and energy efficiency — do not always call for the same thickness, it is worth calculating both and using whichever is greater.
Even the right material at the right thickness will underperform if it is installed poorly. Seams and joints are the most common failure point — any gap in the insulation or vapor barrier gives moist air a path to the cold pipe surface, and condensation will form at exactly that spot. Seams should be fully sealed with a compatible adhesive rather than just butted together.
Pipe supports and hangers are another frequent weak point. A support that clamps directly onto the bare pipe, passing through the insulation, creates a thermal bridge and a localized cold spot where condensation will reliably appear. Insulated pipe supports or shields at hanger points prevent this. Fittings, valves, and flanges also need full insulation coverage — it is common to see straight runs insulated well while valves and elbows are left thinly covered or skipped entirely, which undermines the whole system at its weakest points.
Insulation is not maintenance-free. Over time, jacket materials can crack, adhesive at seams can fail, and mechanical damage from foot traffic or nearby work can expose sections of pipe. The clearest warning sign is the return of surface condensation on a line that was previously dry — it usually means moisture has already found its way in.
A periodic visual inspection of mechanical rooms and accessible pipe runs — checking for cracked jacketing, dark or damp patches, and loose seams — catches most problems before they cause damage. A gradual, unexplained rise in chiller plant energy use is also worth investigating, since it can point to insulation that has degraded quietly behind the scenes.
Getting chilled water pipe insulation right takes the same care as any other part of an HVAC system's design — matching material to environment, sizing thickness to real conditions, and installing it with attention to the details that are easy to skip. If you are specifying insulation for a new project or evaluating options for an existing system, we are glad to help you work through the material and thickness choices that fit your specific application. Feel free to contact us!

Copyright ? 2025ZHEJIANG ZHENSHEN INSULATION TECHNOLOGY CORP.LTD. All rights reserved. 網(wǎng)站備案/許可證號(hào):浙ICP備16010266號(hào)-1